
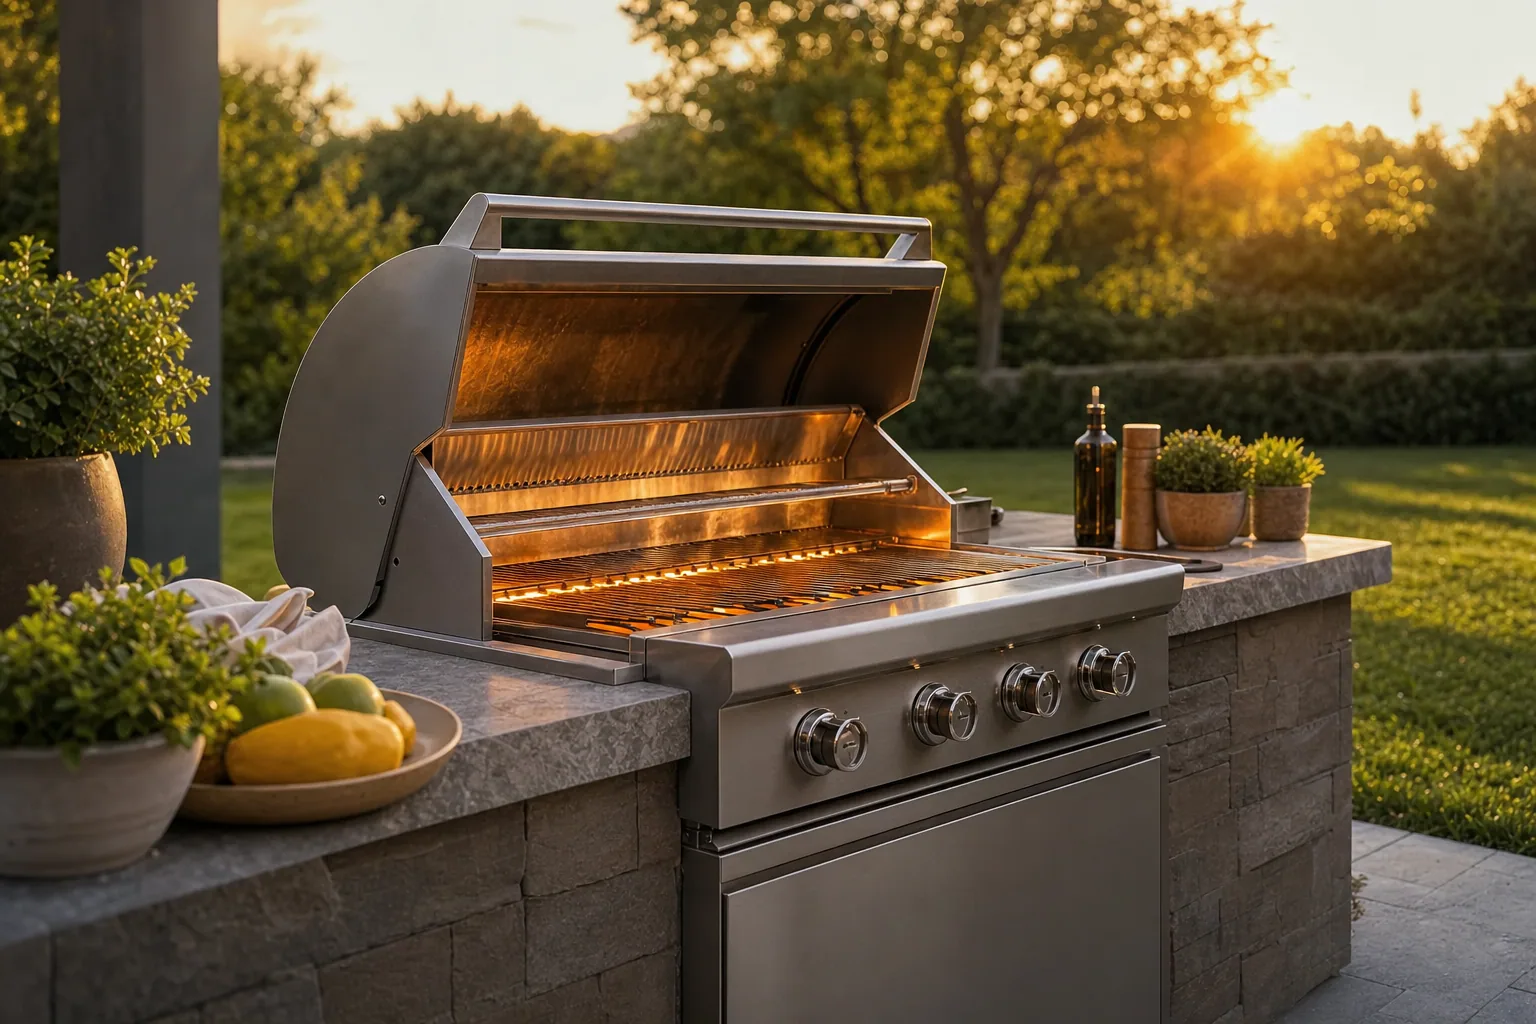
Seasoning a new grill and mastering the preheat process might seem like small details, but they set the foundation for every meal you'll cook. Whether you just unboxed a premium Napoleon, Summerset, or TrueFlame grill, taking time to season it properly and understand how to preheat for different cooking tasks will protect your investment and deliver consistently better results.
Why Seasoning a New Grill Matters
When you first purchase a grill, the grates and interior surfaces come treated with a factory coating to prevent rust during shipping and storage. This coating isn't food-safe, so seasoning removes it and prepares the metal for cooking. Seasoning also creates a natural nonstick patina on your grates that improves over time, much like a cast iron skillet.
Skipping this step won't damage your grill, but you might notice an off smell or taste on your first few meals. More importantly, properly seasoned grates resist rust and maintain their appearance longer, protecting the quality of your equipment for years to come.
How to Season Your New Grill
Seasoning a gas, charcoal, or pellet grill follows a simple process:
- Clean the grates thoroughly with hot water and a stiff brush to remove any factory coating, dust, or debris.
- Dry the grates completely with a clean towel.
- Coat the grates lightly with a high-heat oil like vegetable, canola, or specialty grill oil. Use just enough to create a thin layer.
- Heat the grill to its highest temperature for 15 to 20 minutes with the lid closed. For gas grills, turn all burners to high. For charcoal or pellet grills, get the fire hot and steady.
- Turn off the heat and let the grill cool completely.
- Repeat this process two or three times for a durable seasoning layer.
After seasoning, your grates will develop a dark, slightly iridescent finish. This is normal and exactly what you want. Each time you cook, that patina strengthens.
Understanding Grill Preheat Temperature
Preheating serves two purposes: it brings the grate temperature to where you need it for your cooking task, and it burns off any residue or oil from the seasoning process. Most cooking happens between 350 and 500 degrees Fahrenheit, though high-heat searing can push toward 600 degrees or higher on premium grills with infrared burners.
The time it takes to preheat depends on your grill's power, the outside temperature, and how much mass the grates and interior have to heat. Most grills reach cooking temperature in 10 to 15 minutes. Larger built-in models or those with substantial steel construction may need 20 minutes or more.
Preheating for Different Cooking Styles
Different foods need different heat levels, and preheating to the right temperature makes all the difference.
For everyday cooking and chicken: Preheat to 400 to 425 degrees. This moderate heat cooks through without excessive browning and works well for most family meals.
For burgers and sausages: Aim for 450 to 475 degrees. This gives you a nice crust while keeping the inside juicy.
For searing steaks and chops: Preheat to 500 to 550 degrees or higher if your grill supports it. Infrared rear burners on premium models like the Napoleon Prestige series make high-heat searing particularly effective.
For delicate fish and vegetables: Preheat to 375 to 400 degrees. Lower heat prevents sticking and allows gentle cooking.
For smoking and low-and-slow cooking: No aggressive preheat needed. Set your pellet or charcoal grill to the target temperature, usually 225 to 275 degrees, and let it stabilize for 10 minutes before adding food.
How to Check Readiness Without a Thermometer
Not every grill has a built-in thermometer, and even those that do sometimes need verification. The hand test is a practical way to estimate grate temperature:
- Hold your hand 6 inches above the grates.
- Count how many seconds you can comfortably hold it there before the heat forces you to pull away.
- 8-10 seconds indicates around 350 degrees (medium).
- 5-7 seconds indicates around 400 to 450 degrees (medium-high).
- 3-4 seconds indicates around 500 degrees (high).
- 1-2 seconds indicates very high heat, 550 degrees or more.
This method works best after your grill has been preheating for at least 10 minutes, so surfaces have reached thermal equilibrium.
Preheating Tips for Best Results
Once you understand the basics of how to season a grill and preheat it correctly, a few practical habits will help you get the most from your equipment.
- Always preheat with the lid closed. Open lids allow heat to escape and extend preheat time significantly.
- For built-in grills, make sure the area around and below the grill is clear of obstructions so heat can dissipate safely.
- If you're cooking multiple items at different temperatures, consider using zones. Preheat all burners to your highest needed temperature, then turn down some burners to create a cooler zone for foods that need gentler heat.
- Let fatty foods like ribs or brisket rest at room temperature before placing them on a hot grill. This promotes even cooking.
- On windy days, preheat a bit longer. Wind cools the cooking surface and can extend total cook time.
Moving Forward With Confidence
Seasoning your grill and mastering preheat timing might take a few tries to feel natural, but they're skills that pay off with every cookout. You're investing in equipment built to last, so spending a few extra minutes at the start ensures those investments deliver years of great results.
If you have questions about your specific grill model or need personalized guidance, Prime Grill Shop is here to help. Call (720) 600-7228 to speak with our U.S.-based team or our AI product expert. We stand behind every grill we sell with full manufacturer warranties and expert support, so you never feel uncertain about your purchase or how to get the most from it.