
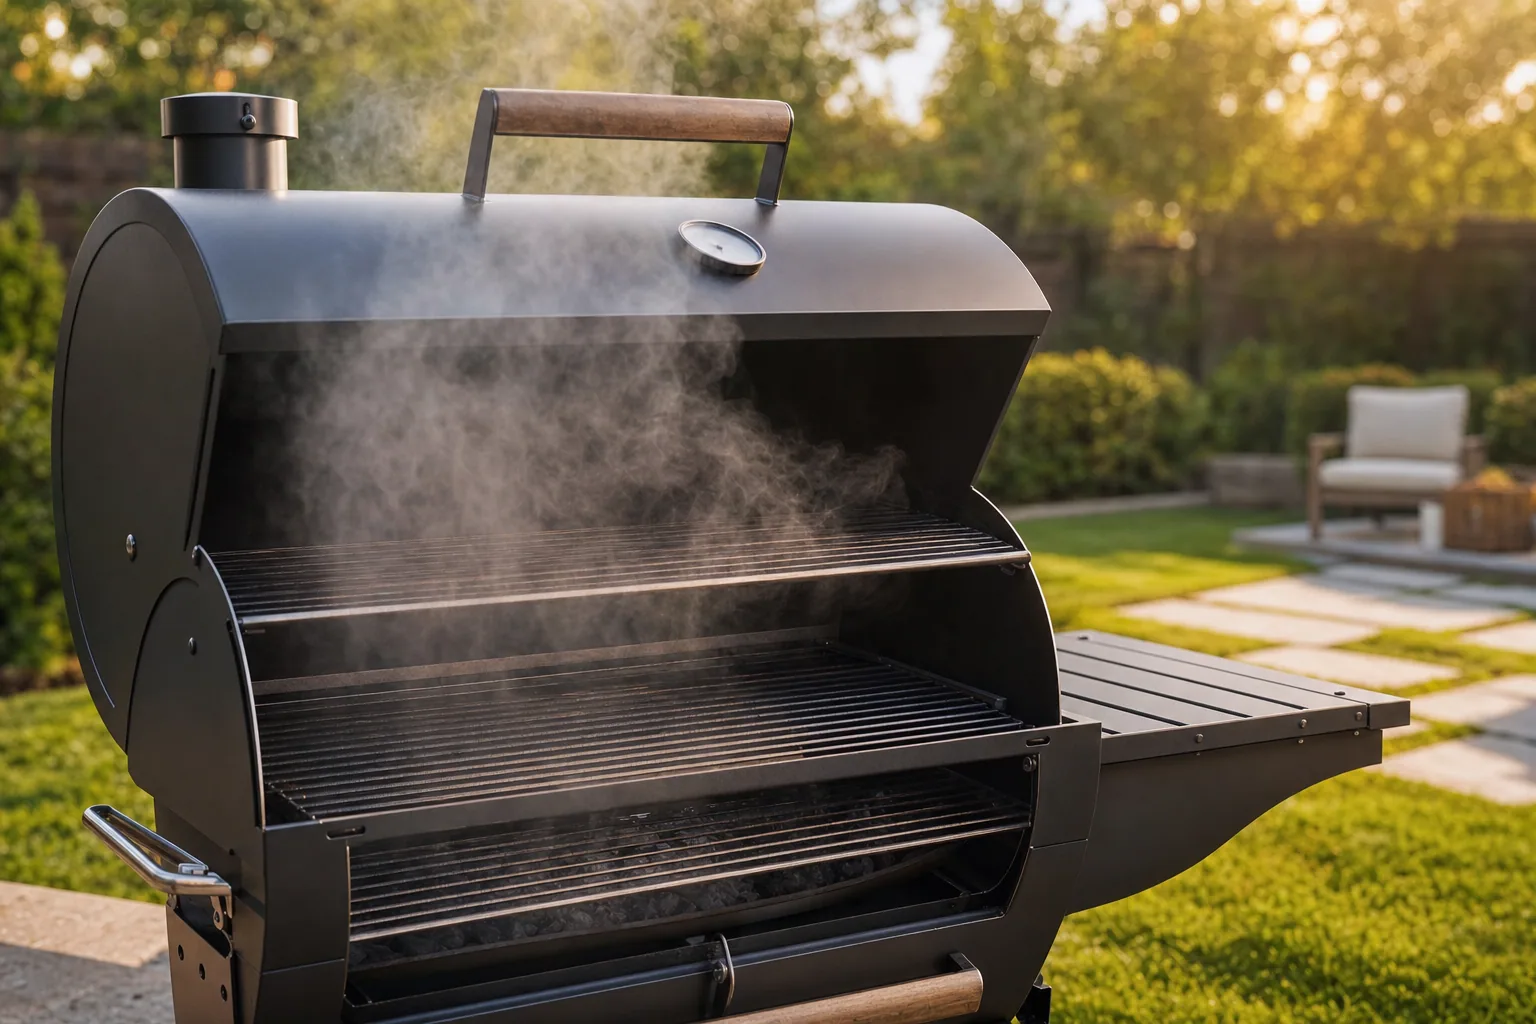
A charcoal smoker is one of the most rewarding investments for backyard cooks who want authentic, smoky flavor that no other method can replicate. But learning how to use a charcoal smoker correctly takes patience, practice, and understanding a few key principles. Whether you're smoking brisket for the first time or refining your technique, the fundamentals remain the same: temperature control, proper airflow management, and patience.
Charcol smokers have been the gold standard for generations because they deliver unmatched flavor and let you develop real smoking skills. If you're starting a charcoal smoker for the first time, don't be intimidated. This guide walks you through everything you need to know to get consistent results.
Understanding Your Charcoal Smoker Setup
Before you light your first fire, take time to familiarize yourself with the different zones of your smoker. Most charcoal smokers have a firebox on the side or bottom, a main cooking chamber, and air vents on the sides and top. The vents are critical: they control oxygen flow, which directly affects temperature and smoke quality.
Start by reading your smoker's manual and inspecting all components. Check that the grates are clean and secure, the thermometer works, and the vents move freely. If you're new to charcoal smoking, consider starting with a model that has straightforward controls and clear temperature gauges. Quality equipment makes learning easier, and Prime Grill Shop offers premium options that handle the heat distribution work for you.
Starting a Charcoal Smoker: The First Light
Proper startup is where many beginners stumble. Here's how to start your charcoal smoker correctly:
- Fill the charcoal chamber with briquettes or lump charcoal. Lump charcoal burns hotter and faster, while briquettes offer steadier, longer-lasting heat.
- Create a small pyramid of charcoal in the center and light it with a chimney starter or fire starters. Never use lighter fluid, which affects flavor.
- Let the charcoal burn for 10-15 minutes until it's mostly gray with white ash coating the exterior.
- Spread the hot coals across the bottom of the firebox. For offset or side-fire smokers, push coals to one side to create a heat zone away from your meat.
- Place a water pan above the coals to moderate temperature swings and add moisture to the smoke.
- Close the lid and let the temperature stabilize for 15-20 minutes before adding food.
Temperature Control: The Heart of Smoking
Consistent temperature is non-negotiable for successful charcoal smoking. Most smoking happens between 225 and 275 degrees Fahrenheit. Maintaining this range requires careful vent management.
Open the bottom intake vents wider to increase temperature and airflow. Close them slightly to reduce heat. The top exhaust vent should stay mostly open at all times, but you can adjust it for fine-tuning. Make small adjustments every 15-20 minutes, not big sudden changes. Temperature swings of 10-15 degrees are normal and acceptable.
Invest in a reliable thermometer, ideally one that reads both the ambient chamber temperature and the internal meat temperature. Check your charcoal smoker for beginners models that come with dual thermometers built in. As you gain experience, you'll develop a feel for how vent positions affect your heat, and adjustments will become second nature.
Choosing Charcoal and Wood for Flavor
The type of charcoal and wood you use directly impacts flavor and consistency. High-quality charcoal briquettes are uniform in size, burn predictably, and produce less ash than cheap alternatives. Lump charcoal gives you more control over temperature spikes but requires closer attention.
For smoke flavor, add hardwood chunks or chips to your coals. Common options include oak, hickory, apple, cherry, and mesquite. Each wood imparts a different flavor profile:
- Hickory: Strong, smoky, works well with pork and ribs
- Oak: Medium strength, versatile for beef and poultry
- Apple and Cherry: Mild, slightly sweet, great for chicken and fish
- Mesquite: Intense and bold, use sparingly
Soak your wood chunks in water for 30 minutes before adding them to hot coals. Wet wood produces more smoke and burns slower. Place chunks directly on the coals where the temperature is hottest. Avoid adding too much wood at once, which creates acrid, bitter smoke. Less is more.
Managing Airflow and Smoke Quality
Clean, thin blue smoke is what you're after, not thick white smoke. Thick smoke means incomplete combustion and can make meat taste bitter and acrid. If your smoker is producing heavy white smoke, you likely have too much wood or inadequate airflow.
Charcoal smoker tips for quality smoke include:
- Ensure bottom vents are open enough for steady oxygen flow
- Don't overcrowd the charcoal chamber
- Add wood gradually, watching how the color of smoke changes
- If smoke becomes thick and billowing, open vents wider or remove some wood
- Clean ash buildup from the bottom of the smoker between cooks
Good airflow also helps you maintain steady temperature. When in doubt, err toward more air rather than less. A smoker that's running a little hot and producing good thin smoke is far better than one that's too cold and making bitter, thick smoke.
Tending Your Fire and Monitoring Your Meat
During a long smoke, your job is to monitor, not constantly fidget. Check your charcoal smoker every 30-45 minutes. Refill the water pan if it's low. Add more charcoal if needed, using a chimney starter so new coals come in hot, not cold. Cold charcoal will crash your temperature.
Resist the urge to open the lid constantly. Every time you do, heat and smoke escape, and your temperature drops 25-75 degrees. Plan your moves: check thermometer, adjust vents, add charcoal if needed, close lid. Done.
Use a meat thermometer to track doneness, but don't rely on it until the final hour of smoking. Meat stalls at a certain temperature and can sit there for hours. This is normal. Push through it by raising your smoker temperature slightly or wrapping the meat in foil to speed things up.
Learning and Improving Over Time
Every charcoal smoker is a little different, and every cook teaches you something. Keep notes on temperature, cooking time, wood type, and results. After a few cooks, you'll recognize patterns and know how your specific smoker behaves in different conditions.
Don't expect perfection on your first try. Even experienced pitmasters pull the occasional dry brisket or oversmoked chicken. What matters is consistency, and that comes from repeating the process and making small adjustments based on what you learn.
Investing in quality outdoor cooking equipment means investing in years of meals and memories with family and friends. A well-maintained charcoal smoker becomes part of your backyard tradition. Start with solid technique, stay patient, and let practice build your confidence. Soon you'll be pulling off perfectly smoked meats that make your neighbors wonder what your secret is.