
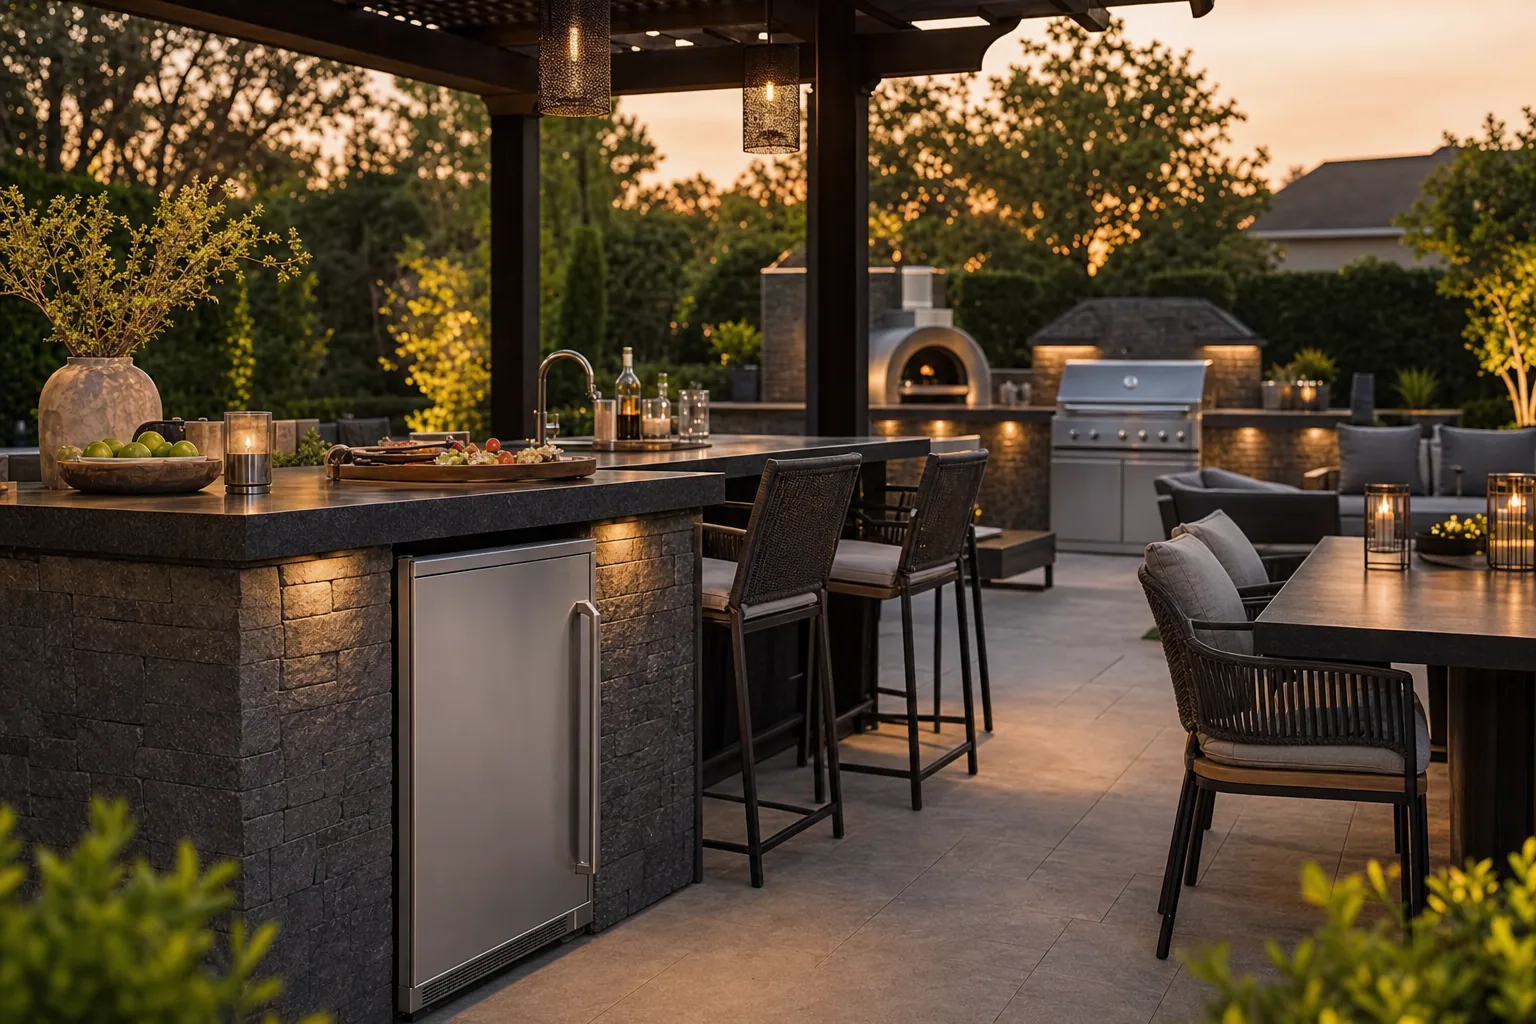
An outdoor refrigerator transforms your backyard from a seasonal gathering space into a year-round entertaining hub. But bringing that investment home is only the first step. Proper installation and setup ensure your patio refrigerator performs reliably, stays protected from the elements, and gives you cold drinks and chilled ingredients exactly when you need them. This guide walks you through everything you need to know to get your outdoor refrigerator ready to serve your family and friends.
Choosing the Right Location
Before you even unpack your patio refrigerator, location matters more than you might think. The spot you choose affects both performance and longevity.
Look for a position that offers some shade or shelter from direct afternoon sun. While outdoor refrigerators are built to handle the elements, excessive heat can force the cooling system to work harder and shorten its lifespan. If full shade isn't possible, consider installing a pergola, awning, or umbrella nearby.
Ensure the location has level ground. A sloped or uneven surface can cause doors to swing open on their own, strain the seals, and affect internal temperature consistency. Use a level to check before you commit.
Choose a spot with good air circulation around the back and sides. Your refrigerator needs space to vent heat from the condenser coils. Leave at least 6 inches of clearance on all sides, more if your manufacturer recommends it. Check your product manual for specific ventilation requirements.
Avoid placing your refrigerator directly against your grill or other high-heat cooking equipment. Heat radiating from neighboring appliances can interfere with cooling performance.
Preparing the Installation Area
Once you've selected the ideal spot, prepare the surface properly. A solid foundation prevents settling, keeps moisture out from underneath, and protects your investment.
If installing on a patio or deck, make sure the surface is clean and free of debris. Sweep thoroughly and inspect for cracks or damage that might worsen over time. A cracked patio can shift and cause your refrigerator to become uneven.
For installations on grass or soil, you have two options. First, you can pour a concrete pad sized slightly larger than your refrigerator's footprint. This is the most durable long-term solution and prevents settling or moisture issues. Second, you can use a level gravel or crushed stone base, adding material as needed to achieve a perfectly level surface.
If your patio refrigerator will be part of a larger outdoor kitchen setup, now is the time to ensure built-in models are properly measured and framed. Built-in refrigerators require careful coordination with countertops, cabinetry, and other appliances.
Unpacking and Initial Inspection
Carefully unpack your refrigerator and inspect it for any damage incurred during shipping. Check all sides, the door, hinges, handles, and the seal. If you spot dents, cracks, or damage that affects performance, document it with photos and contact Prime Grill Shop before installation. We offer hassle-free returns and stand behind full manufacturer warranties.
Remove all protective packaging, tape, and cardboard. Don't forget to check inside the unit for packing materials or foam inserts. Leave doors propped open for a few minutes to air out any shipping odors.
If your refrigerator was transported in cold weather or stored in a cool environment, allow it to sit at room temperature for 2 to 4 hours before plugging it in. This prevents condensation from forming on internal components when the compressor first starts.
Positioning and Leveling
Position your refrigerator in its final location. If it has adjustable legs or feet, use them to achieve a perfectly level surface. Check both front-to-back and side-to-side using a level tool.
Proper leveling ensures:
- Doors close and seal correctly
- Cold air distributes evenly inside
- Condensation drains properly
- The compressor operates without strain
Most outdoor refrigerators have legs that can be adjusted by turning them clockwise or counterclockwise. Make small adjustments and recheck frequently. If your unit has casters or wheels, engage the locks once positioned.
Electrical and Plumbing Considerations
Your outdoor refrigerator needs safe, reliable power. For most residential installations, a dedicated 15-amp circuit is sufficient, though always check your manual. If your refrigerator is more than 25 feet from your electrical source, consider upgrading to a 20-amp circuit to account for voltage drop.
Use a weatherproof electrical outlet with a ground-fault circuit interrupter (GFCI) to protect against moisture and surges. Never use a standard indoor outlet or extension cord that isn't rated for outdoor use. If your setup requires running power to a remote location, hire a licensed electrician to install a properly grounded outdoor circuit.
Some outdoor refrigerators come with ice makers or water dispensers that require a plumbing connection. If yours does, consult a plumber to run a water line and drain line. These connections must be properly insulated for winter months in cold climates, or shut off and drained seasonally.
First Startup and Temperature Settings
Before your first startup, leave the doors open for 30 minutes to allow air to circulate and any residual condensation to dry.
When you're ready to power on, plug the refrigerator in and set the thermostat to the middle position. Allow the unit to run for 2 to 4 hours before loading it with food or beverages. This gives the cooling system time to stabilize and reach optimal temperature.
Once stabilized, adjust the temperature to your preference. Most outdoor refrigerators operate best between 35 and 40 degrees Fahrenheit. If your unit has a freezer compartment, set that section to 0 degrees. Check the internal temperature with a thermometer after another hour to confirm accuracy.
Maintenance for Long-Term Performance
Proper maintenance keeps your patio refrigerator running smoothly for years. Clean the exterior monthly with a soft cloth and mild soap. For stainless steel models, use a stainless steel cleaner to prevent water spots and maintain the finish.
Inspect door seals every few months. If they become cracked or don't seal tightly, replace them immediately. A bad seal forces the compressor to work constantly and drives up energy costs.
Vacuum or brush the condenser coils on the back of the unit quarterly. Dust and debris buildup forces the cooling system to work harder. Unplug the refrigerator before cleaning the coils.
In winter, if you live in a cold climate, you may need to winterize your outdoor refrigerator or shut it down and protect it. Check your manufacturer's guidelines for your specific region.
Drains may accumulate debris over time. Locate the drain pan underneath your refrigerator and empty it regularly, especially after heavy rain.
Creating Your Outdoor Kitchen Space
Your outdoor refrigerator is an anchor piece in a well-designed outdoor entertaining space. When integrated with premium grills, outdoor griddles, and pizza ovens, it completes the experience. Prime Grill Shop specializes in helping you build a cohesive outdoor kitchen that brings family and friends together.
Whether you're setting up a simple beverage station or a full built-in kitchen, we carry the premium brands and equipment you need, including Napoleon, Summerset, Memphis Grills, and TrueFlame. Every order includes free shipping, full manufacturer warranties, and access to U.S.-based customer support.
Proper installation and setup transform your outdoor refrigerator from a luxury appliance into a reliable cornerstone of outdoor entertaining. Take the time to prepare your location, level carefully, and follow startup procedures. The result is a cool, dependable place to store drinks and ingredients throughout the year. Ready to complete your outdoor kitchen? Browse our refrigeration and beverage collection or call us at (970) 681-9122 to speak with our team about your setup.